How to Clean Scrub Daddy Without Dishwasher: Quick & Easy Tips
To clean a Scrub Daddy without a dishwasher, rinse it under warm running water while squeezing it to flush out any food particles. Then, soak it in a mixture of hot water and a splash of vinegar for an hour. Rinse again and air dry.
Hand Washing Scrub Daddy
Understanding the Need for a Clean Scrub Daddy
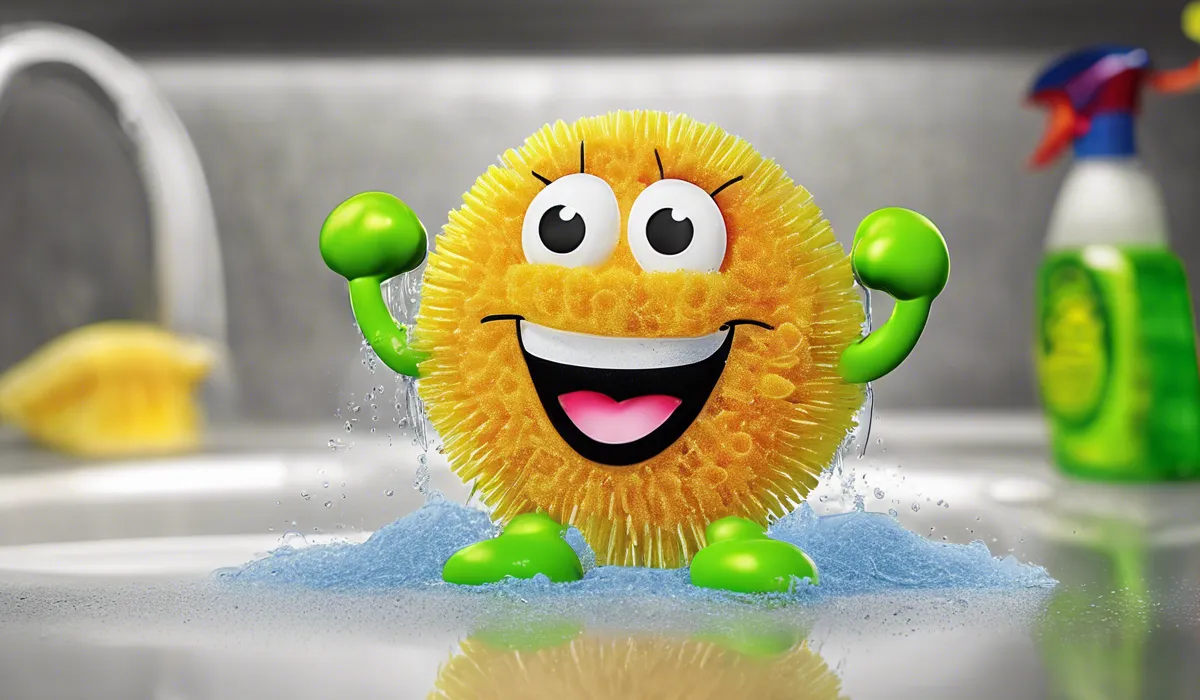
Keeping your Scrub Daddy clean is essential not just for the efficiency of the product, but also for maintaining a hygienic cleaning environment.
A well-cleansed Scrub Daddy can prevent the spread of bacteria and odors that could otherwise transfer to your dishes or countertops.
Initial Rinse to Remove Debris
Start by rinsing your Scrub Daddy under warm water. This step ensures that all the loose particles and debris stuck in the sponge are flushed out. Warm water also helps in softening any dried food remnants, making them easier to remove.
Applying Dish Soap
Squeeze a small amount of dish soap directly onto the Scrub Daddy. Choosing the right dish soap can help make the cleaning process more effective. You can check our recommendations for the best dish soaps for different cleaning needs.
Creating a Lather
Press the Scrub Daddy against itself, working the soap into a rich lather. This action helps the soap to penetrate through the Scrub Daddy’s unique texture, ensuring it reaches every crevice.
Rinsing and Repeating
Once you’re satisfied with the lather, rinse the Scrub Daddy thoroughly under warm water. If the sponge is still not clean, you may need to repeat the process until all soap residues are gone and the water runs clear.
Disinfecting Scrub Daddy
Why Disinfecting is Crucial
Disinfecting your Scrub Daddy is key to killing germs that can accumulate after use. It’s especially important if you’ve cleaned surfaces that come into contact with raw meat or if someone in your household has been ill.
Vinegar Soak for Natural Disinfection
A natural way to disinfect your Scrub Daddy is by soaking it in a vinegar solution. Mix equal parts of water and vinegar in a bowl, and let your Scrub Daddy sit in the mixture for about an hour.
Vinegar is known for its natural disinfecting properties and can help eliminate bacteria without harsh chemicals.
Using a Bleach Solution
For a deeper clean, a bleach solution can be used. Dilute one tablespoon of bleach in a gallon of water and submerge the Scrub Daddy for at least five minutes.
This method is very effective in disinfecting, but you must rinse the sponge thoroughly afterward to remove any bleach residue.
Boiling for Complete Sterilization
Boiling your Scrub Daddy in water for a few minutes is another excellent way to sanitize it thoroughly. Ensure that the water is boiling before you place the sponge in and do not leave it in for too long, as extreme heat can damage the material.
Safety Precautions
When using any disinfecting method, particularly bleach, handle with care and follow safety guidelines to ensure you do not harm yourself or the Scrub Daddy.
Always wear gloves when handling bleach and ensure that your space is well-ventilated.
Drying and Maintenance
Effective Drying Techniques
After cleaning and disinfecting your Scrub Daddy, squeeze out as much water as possible.
Then, allow it to air dry in a clean, well-ventilated space. Proper drying prevents mold and mildew growth and helps maintain the Scrub Daddy’s texture and cleaning efficiency.
Longevity and Proper Storage
To ensure your Scrub Daddy lasts as long as possible, store it in a dry area away from direct sunlight.
Avoid leaving it in the sink where it can stay wet and become a breeding ground for bacteria. Hanging it on a hook or using a suction cup holder allows for proper airflow and drying.
Regular Cleaning and Disinfection Schedule
Implement a regular cleaning and disinfection schedule for your Scrub Daddy. Depending on usage, disinfecting it once a week can help maintain its cleanliness.
Keeping track of when you last cleaned your Scrub Daddy can also help in maintaining a consistent schedule.
Knowing When to Replace
Even with excellent maintenance, a Scrub Daddy will eventually need to be replaced. If you notice persistent odors, a breakdown of the material, or it’s no longer effective in cleaning, it’s time for a new one.
Make sure you know the right time to replace your Scrub Daddy to ensure your cleaning routine stays hygienic.
Maintaining your Scrub Daddy is crucial for effective cleaning and long-term use.
With these hand washing, disinfecting, and maintenance tips, you can ensure that your Scrub Daddy remains a hygienic and useful tool in your cleaning arsenal.
FAQs About Cleaning Scrub Daddy Without Dishwasher
How do I clean my Scrub Daddy if I don’t have a dishwasher?
Rinse your Scrub Daddy under warm running water while squeezing it to remove any trapped food particles, then soak it in hot water mixed with vinegar for an hour, rinse and air dry.
What solution should I use to soak my Scrub Daddy for cleaning?
Soak your Scrub Daddy in a mixture of hot water and a splash of vinegar to help sanitize and clean it thoroughly.
How long should I soak my Scrub Daddy to clean it?
Soak your Scrub Daddy for at least an hour in the vinegar and hot water solution to ensure it’s cleaned properly.
Can I use cold water to rinse my Scrub Daddy?
It’s best to use warm running water to rinse your Scrub Daddy as it helps to flush out food particles more effectively.
How can I dry my Scrub Daddy after cleaning it?
After rinsing, allow your Scrub Daddy to air dry by placing it in a well-ventilated area or on a clean drying rack.
Final Thoughts
For a dishwasher-free cleaning of your Scrub Daddy, thoroughly rinse it with warm water, squeezing out any trapped debris.
Enhance the cleaning process by immersing it in a hot water and vinegar solution for an hour. A final rinse and air drying will prepare your Scrub Daddy for its next use.

