How to Replace Wheels on Lower Dishwasher Rack – Quick Fix Guide
To replace wheels on a lower dishwasher rack, remove the old wheel by pressing the tabs or unscrewing it. Align the new wheel with the rack’s leg, then snap or screw it into place. Ensure it rolls smoothly. Repeat for each wheel. Always check your dishwasher model for specific instructions.
Identifying the Right Replacement Wheels for Your Dishwasher Rack
Understanding the Make and Model of Your Dishwasher
Before you can purchase the correct replacement wheels for your dishwasher rack, you need to identify the make and model of your appliance.
This information is typically found on a label inside the dishwasher door or on the back of the machine. It is essential to note these details because each dishwasher can have uniquely sized wheels designed to fit its specific rack system.
Locating the Manufacturer’s Part Number for the Wheels
Once you have the make and model, locate the manufacturer’s part number for the wheels. This can often be found in the user manual or by searching online on the manufacturer’s website.
The part number is crucial for ensuring you purchase the exact wheels that are compatible with your dishwasher rack.
Options for Purchasing: OEM Parts vs. Aftermarket Alternatives
When purchasing new wheels, you have the option of buying Original Equipment Manufacturer (OEM) parts or aftermarket alternatives. OEM parts are made by the dishwasher’s manufacturer and are guaranteed to fit and function as the original did.
Aftermarket parts may be less expensive and can be just as effective, but it’s essential to verify their compatibility with your dishwasher’s model.
Researching customer reviews and ratings can be helpful when considering aftermarket options.
Removing the Old Dishwasher Rack Wheels
Emptying the Dishwasher and Removing the Lower Rack
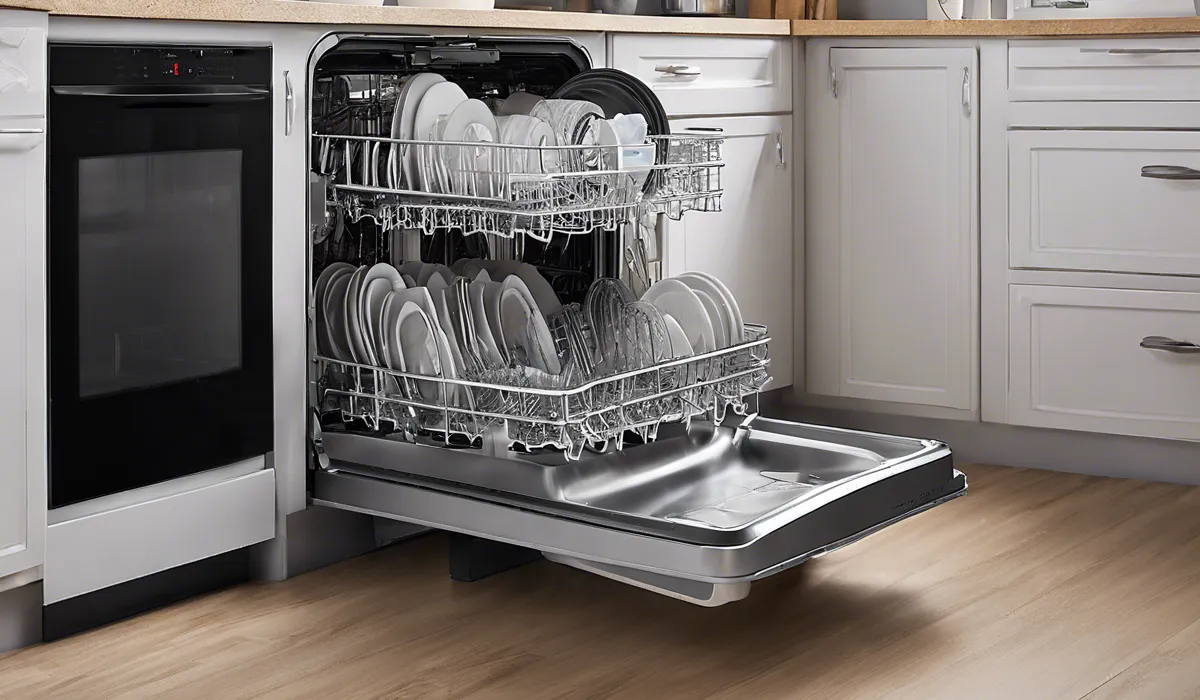
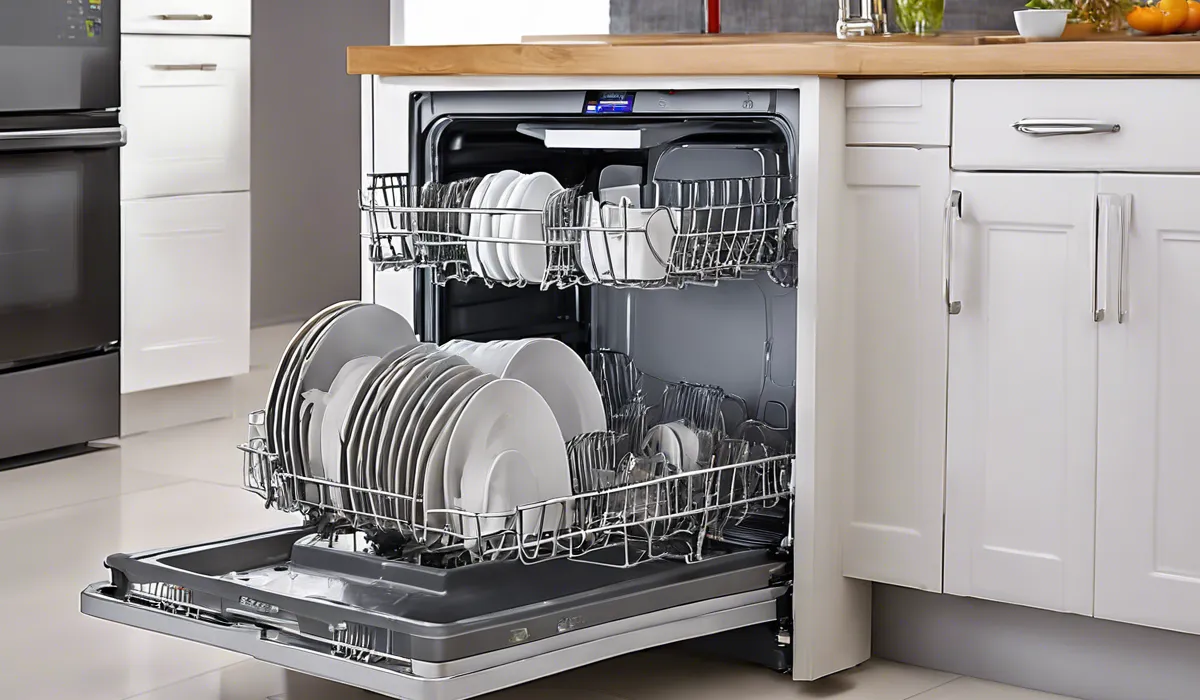
Begin by emptying your dishwasher completely. Remove the lower rack by sliding it out of the dishwasher. You may need to tilt it slightly to lift it off the tracks. Placing it on a solid surface will make it easier to work on.
Assessing How the Wheels Are Attached to the Rack
Inspect how the wheels are secured to the dishwasher rack. They might be clipped on, snapped into place, or screwed. Understanding the attachment method will determine how you will proceed with their removal.
Tools You Might Need for the Removal Process
Depending on how the wheels are attached, you may need a set of pliers or a screwdriver to remove them. If the wheels are clipped on, pliers can help you pinch the clips and slide the wheels off. For screwed-in wheels, a screwdriver matching the screw head will be necessary.
Step-by-Step Guide for Detaching the Old Wheels
To detach the old wheels, follow these steps carefully: If the wheels are clipped on, press the tabs with your pliers and gently pull the wheel off.
For wheels that are screwed in, use your screwdriver to unscrew each wheel and keep the screws in case you need them to attach the new wheels. Repeat the process for each wheel, ensuring you work gently to avoid damaging the rack.
Installing the New Wheels on the Dishwasher Rack
Preparing the New Wheels for Installation
Before installing the new wheels, inspect them to ensure they are the correct type and size for your dishwasher model. Remove any packaging and check that you have all the necessary parts, such as clips or screws, if they are required for installation.
Aligning the Wheels with the Rack’s Wheel Slots or Axles
Position the new wheel in line with the wheel slot or axle on the dishwasher rack. Make sure the orientation is correct, with any tabs or screw holes aligned properly. This will ensure a smooth installation process.
Techniques for Snapping the Wheels Securely into Place
For wheels that need to be snapped into place, apply pressure evenly until you hear a click, indicating the wheel is securely attached.
If your model requires screws, align the screw holes and use the screws you set aside earlier to secure the wheels.
Tighten them just enough so that they are firm but do not over-tighten, as this could strip the threads or crack the wheel.
Ensuring the Wheels Are Installed Correctly and the Rack Rolls Smoothly
After all the wheels are installed, place the rack back into the dishwasher to test that it rolls smoothly on the tracks.
If you encounter resistance or the rack is not moving freely, double-check the installation of the wheels to ensure they are properly seated and secured.
Once you are satisfied with the movement, you can consider the job complete and enjoy the full functionality of your dishwasher once again.
FAQs About Replacing Wheels on Lower Dishwasher Rack
How do you remove the old wheel from a dishwasher rack?
To remove the old wheel from a dishwasher rack, press the tabs or unscrew it, depending on your dishwasher model.
What is the correct way to install a new wheel on a dishwasher rack?
Align the new wheel with the rack’s leg and snap it into place or screw it in, ensuring it is securely attached.
How can I ensure the new wheel is properly installed on my dishwasher rack?
After installation, make sure the new wheel rolls smoothly and is firmly attached to the rack’s leg.
Do I need any tools to replace the wheels on my dishwasher rack?
Tools are not typically required unless the wheels need to be unscrewed, in which case a screwdriver may be necessary.
Should I replace all the wheels on the lower dishwasher rack at the same time?
It is not necessary to replace all the wheels at once, but doing so can ensure even wear and smooth operation.
Final Thoughts
Replacing wheels on a lower dishwasher rack involves removing the old ones by pressing tabs or unscrewing, and then attaching new wheels by aligning and snapping or screwing them onto the rack’s legs.
Ensure each wheel rolls smoothly after installation. It’s crucial to refer to the specific instructions for your dishwasher model when performing this task.