How to Remove a Built in Dishwasher: A Step-by-Step Guide
First, shut off power and water to your dishwasher. Next, remove the kickplate, then disconnect water and power lines. Unscrew the mounting brackets that secure the dishwasher to the countertop. Carefully slide out the unit, ensuring no wires or hoses are snagged.
Preparation and Safety Precautions
Turn off Power and Water Supply
Before starting the process of removing a built-in dishwasher, it is crucial to ensure your safety. Begin by shutting off the power supply to the dishwasher at the circuit breaker.
Then, turn off the water supply valve, usually located under the kitchen sink. By doing this, you prevent any accidental water spills or electrical shocks.
Gather Necessary Tools and Equipment
Collect all the tools you will need to remove the dishwasher efficiently. This includes a screwdriver, adjustable wrench, pliers, and a towel or sponge for any water that may spill. Having these tools within reach will help streamline the removal process.
Protect Kitchen Floors and Surrounding Cabinets
To keep your kitchen in good condition, lay down a protective sheet or blanket before moving the dishwasher. This action will prevent scratches or dents on your flooring and minimize damage to surrounding cabinets.
Clear Out Space Under the Sink
Ensure that the area under your kitchen sink is free from any items that may obstruct access to the dishwasher’s connections.
This space is often used for storage, so clearing it out will provide you with room to work and keep your belongings safe from potential water damage.
Disconnecting and Removing the Dishwasher

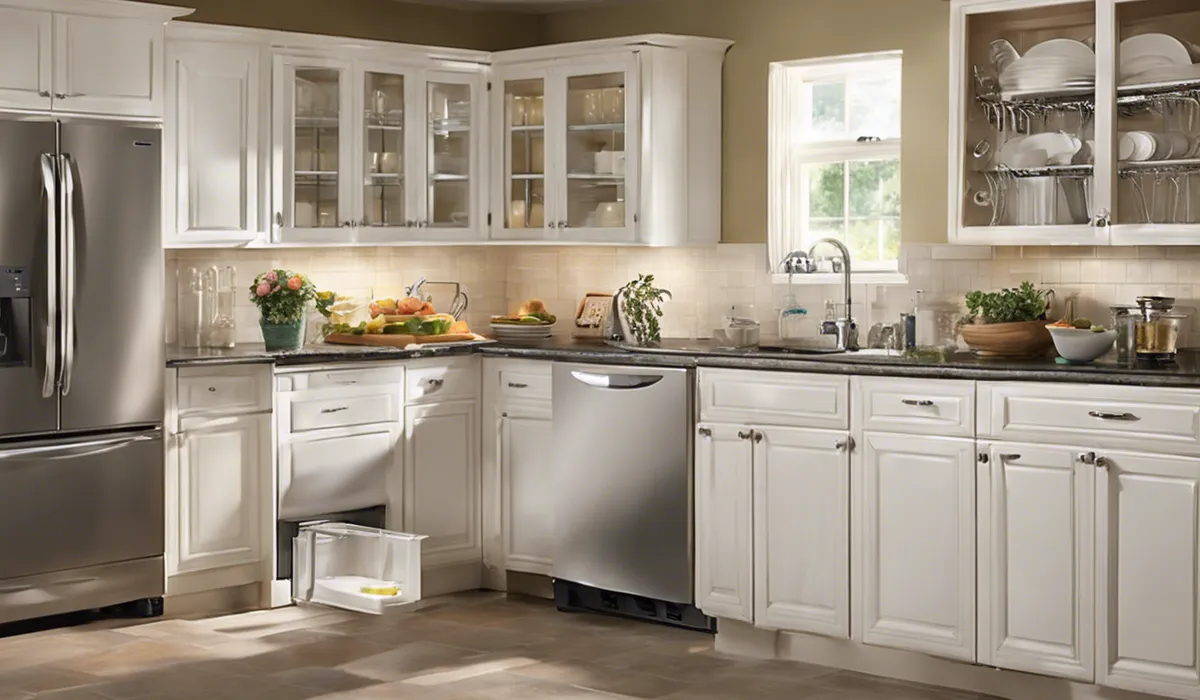
Remove the Kick Plate and Inspect the Connections
The kick plate, located at the bottom front of the dishwasher, can be removed by unscrewing it.
Once off, you will have a clear view of the water supply line, drain hose, and power supply. Inspect these connections before proceeding to ensure you know what to disconnect.
Disconnect the Water Supply Line
Place a towel under the water supply line to catch any drips and use an adjustable wrench to loosen the connection. Be prepared for some water to escape once you remove the line, and ensure the valve remains off to prevent a continuous flow.
Disconnect the Drain Hose from the Sink or Garbage Disposal
Locate the clamp that secures the drain hose to the sink or garbage disposal. Use pliers to loosen the clamp and gently remove the hose. Keep the towel handy to wipe up any residual water that may spill from the hose.
Disconnect the Power Supply
For the power supply, it is usually connected by a plug under the sink or hardwired into a junction box. If plugged in, simply unplug it. If hardwired, remove the cover of the junction box and disconnect the wires, capping them off for safety.
Unscrew the Dishwasher from the Countertop or Cabinet
Most dishwashers are secured to the countertop or cabinet with screws. Locate these screws inside the dishwasher, typically along the top edge, and remove them with your screwdriver, ensuring you keep them for future use.
Carefully Slide the Dishwasher Out from the Cabinetry
Gently pull the dishwasher out from its cavity. Be careful not to force it, as there may still be some connections or wires you missed. If it does not move freely, double-check all connections and screws to ensure nothing is still attached.
Final Steps

Check for and Repair Any Damages in the Cabinetry or Flooring
Once the dishwasher is removed, inspect the cabinetry and flooring for any damages. If you find scratches or dents, you may need to fill and paint over them or replace a section of the flooring if severely damaged.
Cap Off or Secure Any Exposed Electrical Wires
If your dishwasher was hardwired, the exposed wires should be capped with wire nuts and taped. Secure these wires so they do not pose a risk of electrical shock or interfere with the installation of a new appliance.
Ensure Water Supply and Drain Lines Are Properly Sealed
After disconnecting the dishwasher, the water supply line should be shut off. If you are not installing a new appliance immediately, consider installing a cap or valve to seal the line.
Similarly, the drain hose should be capped off to prevent any leaks or odors from the sewage system.
Clean the Area Where the Dishwasher Was Located
With the dishwasher removed, you now have the opportunity to clean the area thoroughly. This space often collects dust and debris, so use a vacuum and cleaning supplies to tidy up before installing a new dishwasher or repurposing the area.
Considerations for Disposing of or Recycling the Old Dishwasher
Disposing of an old dishwasher should be done responsibly. Look for local recycling programs or waste disposal services that accept appliances. Some retailers offer haul-away services when you purchase a new unit, so consider this option as well.
FAQs About Removing a Built-In Dishwasher
FAQ QuestionHow do I prepare to remove a built-in dishwasher?
First, shut off the power and water supply to the dishwasher. Then, remove the kickplate for access to the connections.
What should I disconnect before removing the dishwasher?
Disconnect both the water and power lines after removing the kickplate.
How is the dishwasher secured to the countertop?
The dishwasher is typically secured with mounting brackets screwed into the countertop.
What is the proper way to slide out a dishwasher?
Carefully slide the dishwasher out from under the countertop, making sure not to snag any wires or hoses.
Do I need to do anything after removing the dishwasher?
Check the area for any leftover debris or water and clean up as necessary. Ensure there are no leaks from the disconnected water line.
Final Thoughts
To remove a built-in dishwasher, start by turning off both power and water supplies. Remove the kickplate, then detach the water and power connections.
Unscrew the mounting brackets linked to the countertop and gently pull the dishwasher out, taking care not to catch any wires or hoses.