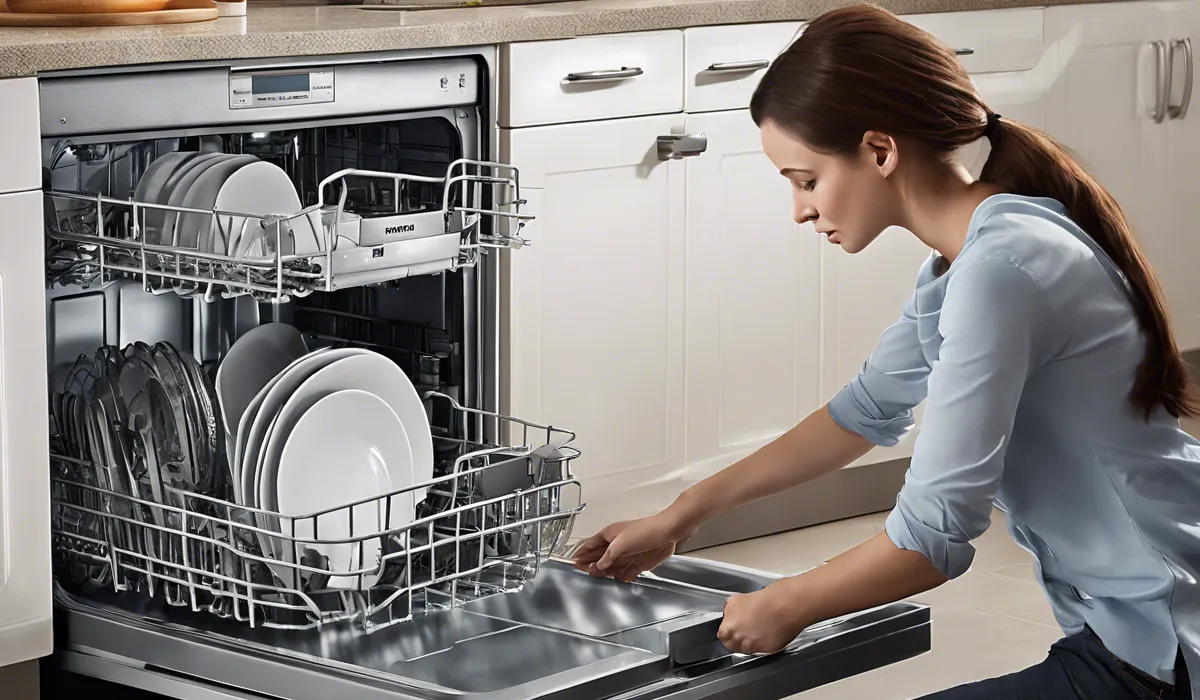
How to Pull Out Samsung Dishwasher: Easy Removal Guide
To pull out a Samsung dishwasher, first, turn off the power and water supply. Remove the screws securing the dishwasher to the countertop. Slowly pull the dishwasher from its housing, ensuring the water and electrical lines have slack. Disconnect the lines once accessible.
Safety Precautions and Preparation

Turn off Power and Water Supply
Before beginning any work on your Samsung dishwasher, safety comes first. Locate your home’s electrical panel and turn off the circuit breaker connected to the dishwasher to eliminate any risk of electric shock.
Next, shut off the water supply to prevent any potential flooding. This valve is typically located under the sink or in the basement. Ensuring these utilities are off is crucial for a safe removal process.
Gather Necessary Tools
Having the right tools can make the difference between a smooth operation and a frustrating experience.
You will need a screwdriver to remove screws, towels to mop up any residual water, and a bucket to catch drips when disconnecting hoses. Assemble these items beforehand so they’re within easy reach when you start the job.
Protect Flooring and Clear the Area
To avoid damage to your flooring, lay down protective material such as cardboard or a drop cloth. Clear the area around the
dishwasher to give yourself ample room to maneuver. This includes removing items from the countertop above and any objects or furniture that could obstruct the path when sliding out the appliance.
Disconnecting the Dishwasher

Empty the Dishwasher
Ensure your Samsung dishwasher is completely empty. Remove all dishes and racks to reduce the weight and prevent anything from falling out and breaking during the removal process. With the interior cleared, you can also better access some of the components you’ll need to disconnect.
Remove the Kickplate
The kickplate, also known as the toe panel, is located at the bottom front of the dishwasher. It’s typically held in place with screws.
Use your screwdriver to remove these screws and then take off the kickplate. This will expose the water line, drain hose, and power connection.
Disconnect Water Line and Drain Hose
Place your bucket under the water line and drain hose to catch any water that spills out when you disconnect them. Using a wrench, carefully loosen and detach the water supply line.
Then, gently pull off the drain hose from the dishwasher’s drain pump. You might need to remove a clamp or additional screws depending on your model.
Unplug the Power Cord
If your dishwasher is plugged into a wall outlet, simply unplug it. If it is hardwired to the electrical system, you will need to open the junction box, usually located at the base of the unit, and disconnect the wires.
Make sure to cap the wires with wire nuts for safety after removing them from the dishwasher.
Loosen Mounting Brackets or Screws
Most dishwashers are secured to the underside of the countertop with mounting brackets or screws. Use your screwdriver to loosen and remove these fasteners. Be careful to support the dishwasher as you do this to prevent it from tipping or falling.
Pulling Out the Dishwasher

Slide Dishwasher Out Carefully
With everything disconnected, it’s time to gently slide the dishwasher out from its housing.
Start by pulling it straight out a few inches to check that all wires and hoses have enough slack. If you feel any resistance, stop and ensure nothing is still connected or snagging on the appliance.
Checking and Disconnecting Any Remaining Hoses or Wires
As you pull the dishwasher out further, keep an eye on the hoses and electrical wires. There may be additional connections that weren’t visible initially.
If you find any, stop and disconnect them before continuing. Make sure to support the weight of the dishwasher to prevent any strain on the connections.
Maneuvering the Dishwasher Past Countertops and Cabinets
Finally, carefully maneuver the dishwasher past countertops and cabinets. This may require tilting the appliance at an angle or adjusting your grip to get a better hold.
Be patient and move slowly to avoid damage to your kitchen or the dishwasher itself. Once the dishwasher is completely free from the cabinetry, you can move it to your desired location for repair, maintenance, or replacement.
FAQs About Pulling Out a Samsung Dishwasher
How do I prepare my Samsung dishwasher for removal?
To prepare your Samsung dishwasher for removal, turn off the power to the unit at the circuit breaker and shut off the water supply to prevent leaks and electrical hazards.
What tools are needed to remove a Samsung dishwasher?
You’ll need a screwdriver to remove the screws that secure the dishwasher to the countertop. You may also need pliers or wrenches to disconnect the water and electrical lines once the dishwasher is pulled out slightly.
How can I ensure the safety of the water and electrical lines while pulling out the dishwasher?
Ensure that there is enough slack in the water and electrical lines before slowly pulling the dishwasher out from its housing to avoid damaging the connections.
When should I disconnect the water and electrical lines from the dishwasher?
Disconnect the water and electrical lines only after you have pulled the dishwasher out enough to access them safely without straining the connections.
What should I do after removing the screws from my Samsung dishwasher?
After removing the screws, gently pull the dishwasher forward to ensure that the lines are not tangled or strained, then proceed to disconnect the lines to fully remove the dishwasher.
Final Thoughts
When removing a Samsung dishwasher, safety is paramount: ensure the power and water supply are off.
Unscrew the unit from the countertop and gently slide it out, taking care not to strain the water and electrical connections. Once you have enough room, proceed to disconnect the lines to fully remove the appliance.


