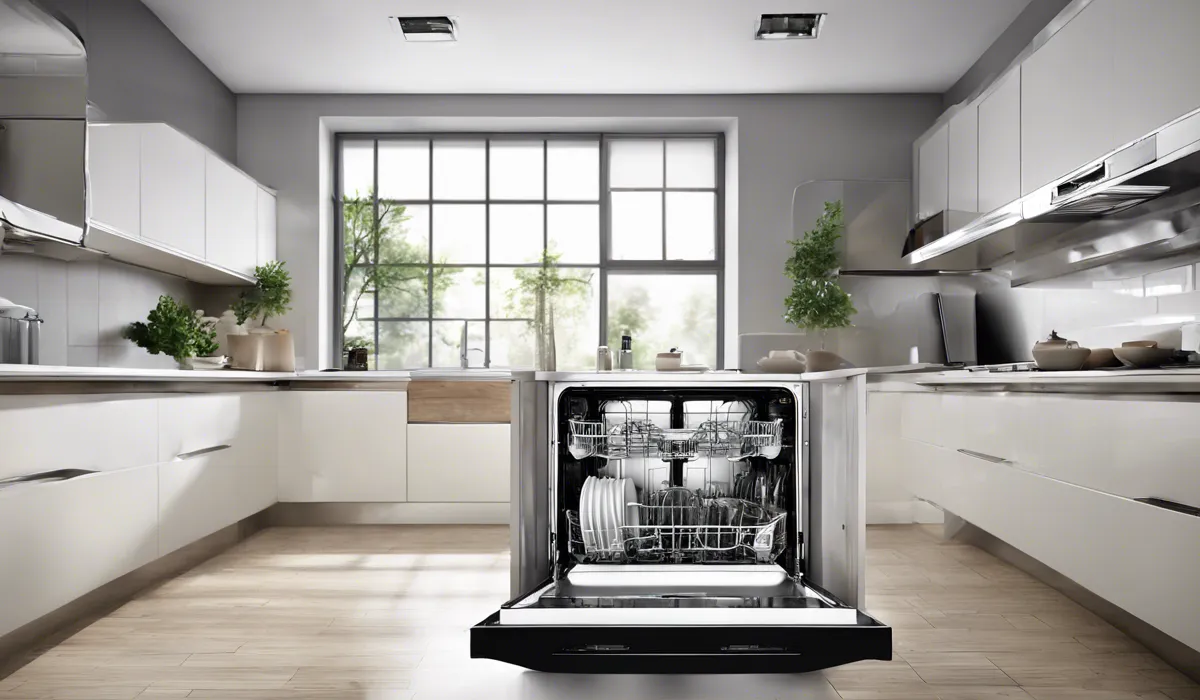
How to Lower Dishwasher Rack: Easy Step-by-Step Guide
To lower a dishwasher rack, press the rack’s side levers or push the tabs downwards. Gently lower the rack to the desired height. Ensure the rack is level and securely in place before loading dishes.
Understanding Your Dishwasher Rack Mechanism
Types of Dishwasher Racks
Dishwashers are designed to make your daily chores easier and more efficient, and the type of rack in your dishwasher plays a key role in this.
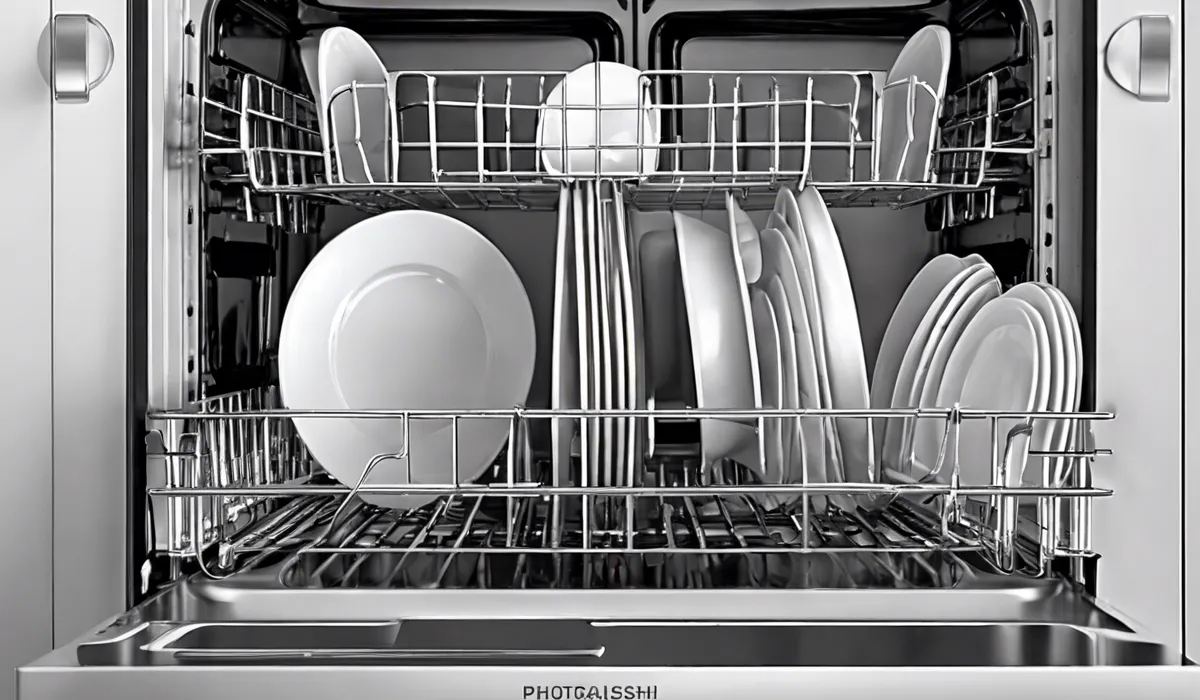
There are several types of racks, including standard flat racks for plates and bowls, angled racks for cups and glasses, and specialized racks for utensils and small items. Each rack type is created to maximize the space and ensure your dishes are held securely during the wash cycle.
Common Mechanisms for Height Adjustment
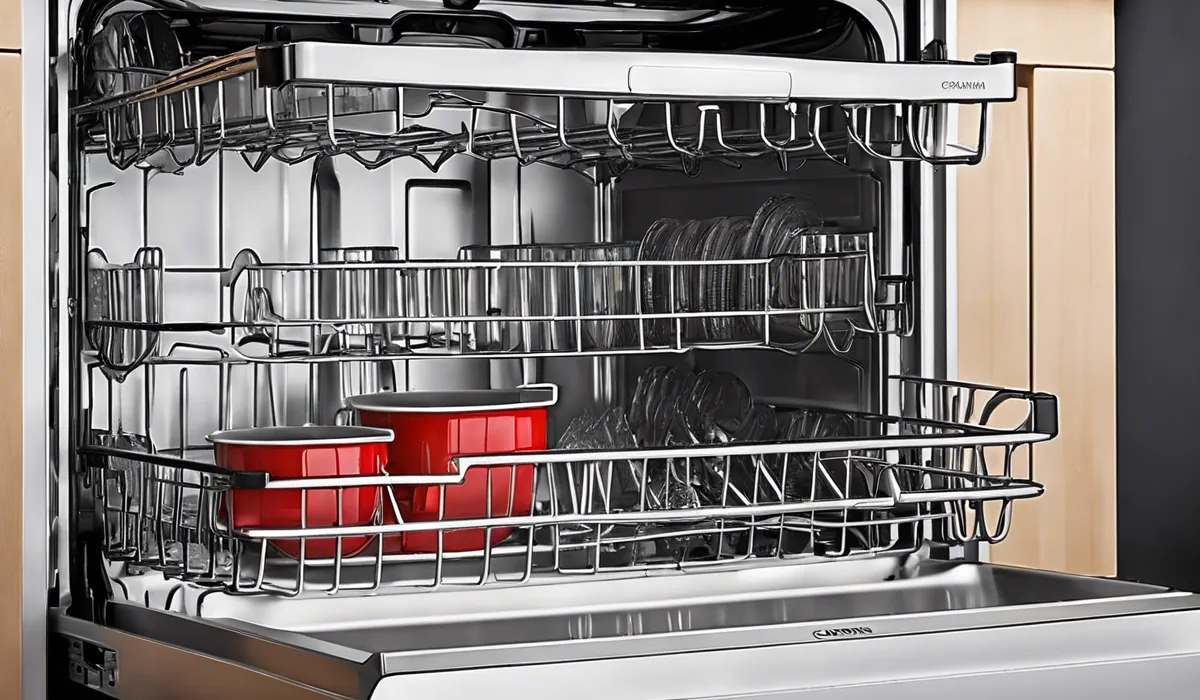
Adjusting the height of your dishwasher rack can accommodate larger items like pots, pans, or tall glasses. The common mechanisms for height adjustment include racks with levers or latches, racks with clips or buttons, and telescoping rack systems.
Rack with Levers or Latches
Some dishwasher racks come with levers or latches on the sides that you can easily press or lift to adjust the height. This system is user-friendly and provides a quick way to reposition the rack.
Rack with Clips or Buttons
Other racks have clips or buttons that, when pushed, release the rack to move up or down. This method may require a bit more force but is still straightforward and effective.
Telescoping Rack System
High-end models often feature a telescoping rack system where the rack glides smoothly on wheels or bearings. This system provides a seamless adjustment experience.
Importance of Proper Rack Positioning
Proper rack positioning is crucial for the dishwasher to clean effectively. It ensures that water and detergent reach all surfaces of your dishes. It also helps prevent damage to delicate items by securing them in place during the wash cycle.
Step-by-Step Guide to Lowering the Dishwasher Rack
Step 1: Empty the Rack
Before adjusting the rack, remove all dishes and utensils. This will prevent any damage to your dishes and make it easier to access the adjustment mechanism.
Step 2: Locate the Adjustment Mechanism
Examine the sides of the rack to find the levers, latches, clips, or buttons that control its height. The location and type of mechanism will vary depending on your dishwasher model.
Step 3: Disengage the Locking Mechanisms
Press or lift the levers or latches, or push the clips or buttons to unlock the rack. You might need to do this on both sides of the rack to release it fully.
Step 4: Gently Lower the Rack
Once the locking mechanisms are disengaged, hold the rack firmly on both sides and gently lower it to the desired height. Be sure to support the rack evenly to prevent it from tilting or becoming jammed.
Step 5: Ensure the Rack is Securely in Place
After lowering the rack, check that it is securely locked into place. The rack should not wobble or slide up and down without the locking mechanisms being disengaged.
Step 6: Test the Stability of the Lowered Rack
Before placing dishes back into the rack, gently shake it to ensure it is stable. A secure rack will not move from its set position and will be ready to safely hold your dishes.
Troubleshooting Common Issues When Lowering the Rack
Problem: Rack Won’t Budge
If the rack refuses to move, check for any obstructions like fallen utensils or dishware that may have slipped through the rack. Make sure you have properly disengaged all the locking mechanisms on both sides.
Problem: Rack is Uneven After Lowering
An uneven rack can lead to improperly cleaned dishes and potential damage. Adjust both sides of the rack evenly by lifting it back to its original position and then lowering it down slowly, ensuring both sides are moving together.
Problem: Rack Falls Down Too Quickly
If the rack drops too fast, it could be a sign of wear or broken components. Inspect the rack for any damaged parts and replace them if necessary. In the meantime, lower the rack carefully to avoid accidents.
Tips for Maintaining the Rack Adjustment Mechanism
Maintaining the adjustment mechanism is vital for the longevity of your dishwasher rack. Regularly clean the moving parts to prevent buildup of detergent or food particles.
If you notice any stiffness or difficulty in adjusting the rack, lubricate the moving components with a food-grade lubricant. Also, avoid overloading the rack to reduce strain on the adjustment system.
By following these steps and tips, you can ensure that your dishwasher rack is always in the optimal position for your dishwashing needs.
Remember, proper care and usage of the rack adjustment mechanism will enhance the performance and lifespan of your dishwasher.
FAQs About Lowering a Dishwasher Rack
How do I lower the upper rack in my dishwasher?
To lower the upper rack, press the levers on the side of the rack or push the tabs downwards, then gently lower the rack to your desired height.
Can I adjust my dishwasher rack to different heights?
Yes, many dishwasher racks are designed to be adjustable to accommodate dishes of various sizes.
What should I do if my dishwasher rack seems uneven or unstable?
Ensure that you have pressed the levers or tabs on both sides and that the rack is level and securely in place before use.
Do all dishwashers have racks that can be lowered?
Not all dishwashers have adjustable racks; consult your dishwasher’s manual to see if this feature is available.
Is it safe to adjust the dishwasher rack when it’s full of dishes?
It’s best to adjust the rack when it’s empty to prevent dishes from moving and potentially breaking.
Final Thoughts
To adjust the height of a dishwasher rack, simply press the side levers or push down on the tabs at the sides of the rack.
Carefully lower the rack to your preferred level, ensuring it’s even and secure before placing any dishes on it. This allows for flexible loading of variously sized items with ease.