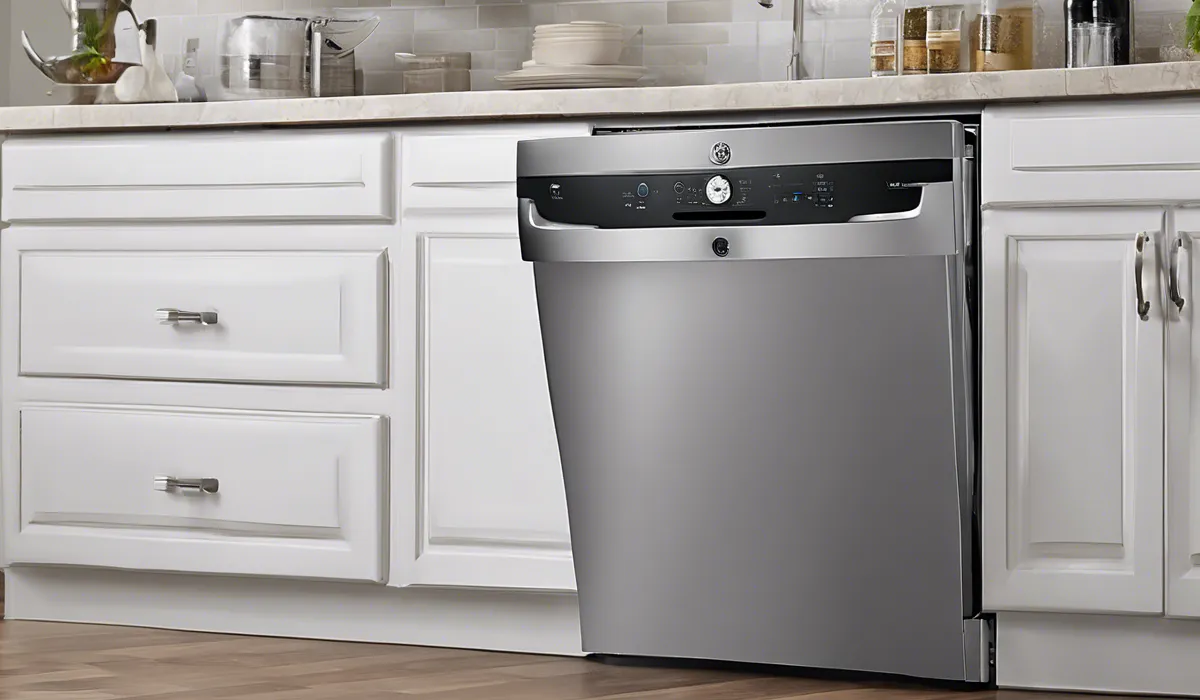
How to Remove GE Dishwasher Spray Arm: Quick & Easy Guide
To remove a GE dishwasher spray arm, first ensure the dishwasher is off and empty. Gently rotate the spray arm counter-clockwise to unscrew and detach it. Some models may have a retaining nut or button that needs to be released. Consult your manual for model-specific instructions.
Step-by-Step Guide to Removing the GE Dishwasher Spray Ar
Preparation for Removal
Before you start, turn off your dishwasher to ensure safety. Disconnect power by unplugging it or switching off the circuit breaker. It’s important to not skip this step to avoid any potential electric shock.
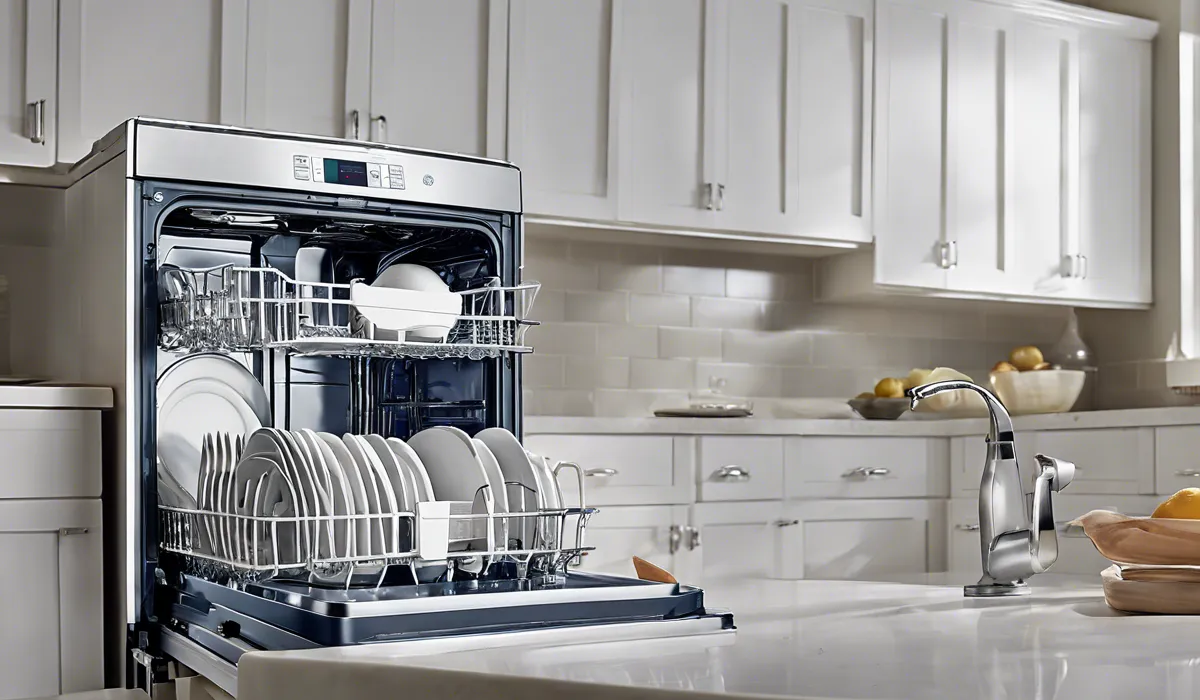
Emptying the Dishwasher
Remove all dishes and utensils from your dishwasher. This will give you clear access to the spray arm and prevent any items from getting damaged during the removal process.
Locating the Spray Arm
Open the dishwasher door and locate the spray arm. Typically, it’s at the bottom of your dishwasher, but some models may have it in a different spot. If you are not sure, check your user manual for guidance.
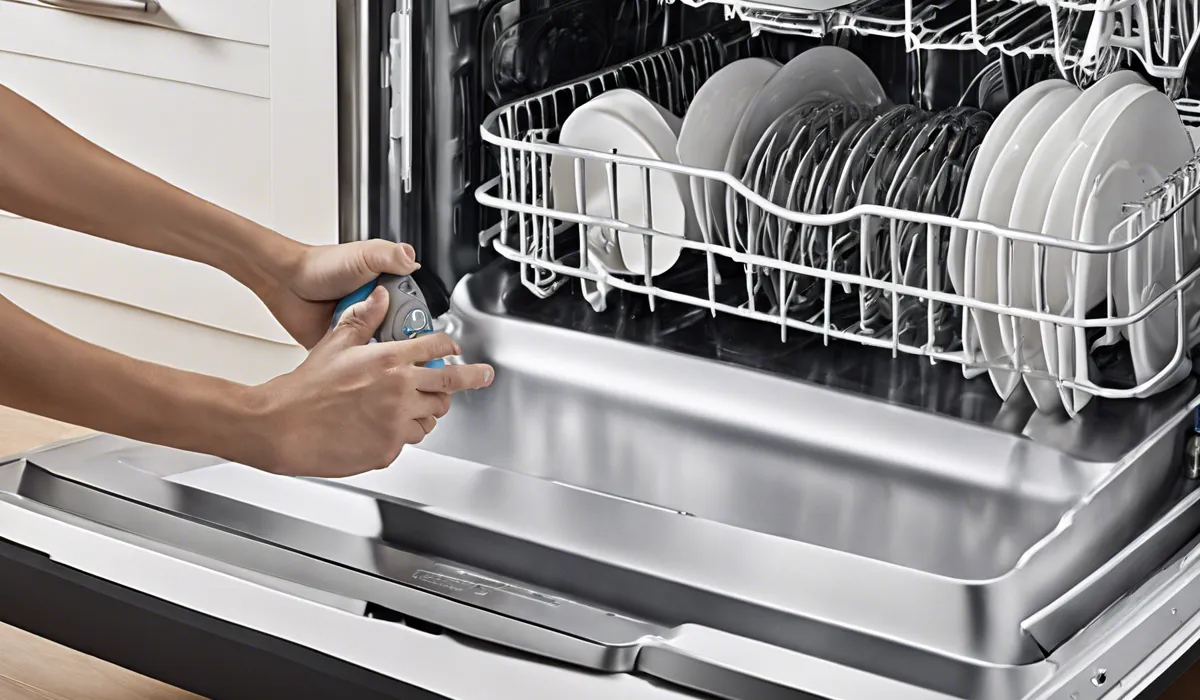
Removing the Bottom Rack
Slide out the bottom rack to make room for working on the spray arm. This will help you reach the spray arm easily and safely.
Detaching the Spray Arm
To remove the spray arm, gently rotate it counter-clockwise. If your model has a retaining nut or a button, release these first. Always refer to your model’s manual for specific instructions.
Different Attachment Mechanisms
GE dishwashers come with various spray arm attachment designs. Some might have a simple nut that you can unscrew by hand, while others might have a clip that you need to press to release the arm. Consult your dishwasher’s user manual to understand the specific mechanism your model uses.
Tips for Stuck Spray Arms
If the spray arm is stuck, do not force it as you might break it. Instead, try wiggling it gently or using a pair of pliers with a cloth to protect the arm from scratches. If needed, apply some penetrating oil to help loosen it.
Cleaning the Removed Spray Arm
Rinsing Under Warm Water
Once the spray arm is removed, rinse it under warm running water. This will help remove loose debris and prepare it for a more thorough cleaning.
Clearing Debris from the Holes
Use a soft brush or a toothpick to carefully remove any debris lodged in the spray arm holes. Be gentle to avoid damaging the arm.
Soaking in Vinegar Mixture
If the spray arm is heavily clogged, soak it in a mixture of warm water and vinegar for about 30 minutes. Vinegar is a natural cleaner that can help dissolve mineral deposits and grease.
Final Rinse and Inspection
After soaking, rinse the spray arm again with warm water. Check to make sure all the holes are clear and inspect the arm for any cracks or damage. If damage is found, the spray arm may need to be replaced.
Reinstalling the Spray Arm
Drying the Spray Arm
Before reinstalling the spray arm, ensure it’s completely dry. Water in the arm can lead to mold growth or improper installation.
Alignment and Installation
Align the spray arm back to its original position at the bottom of the dishwasher. Make sure it’s seated properly before securing it.
Securing the Spray Arm
Secure the spray arm by screwing it in clockwise or snapping it back into place, depending on your model’s design. Ensure it’s tight enough so it won’t come loose during operation but not overly tight to avoid damaging the threads or clips.
Testing Rotation
Once installed, gently spin the spray arm to make sure it rotates freely. If it does not, it might not be properly installed, or there might be obstructions in the way.
Replacing the Bottom Rack and Powering Up
Slide the bottom rack back into the dishwasher. Reconnect power to your dishwasher and run a test cycle. Monitor the spray arm during the cycle to ensure it’s functioning correctly and efficiently cleaning your dishes.
FAQs About Removing GE Dishwasher Spray Arm
How do I begin the process of removing the spray arm from my GE dishwasher?
To start, make sure your GE dishwasher is turned off and completely empty before attempting to remove the spray arm.
What is the correct method to detach the spray arm in a GE dishwasher?
Gently rotate the spray arm counter-clockwise until it unscrews and can be detached from the dishwasher.
Are there any special mechanisms securing the spray arm in some GE dishwasher models?
Yes, some GE dishwasher models may have a retaining nut or a button that you need to release before you can unscrew the spray arm.
Do I need any tools to remove the spray arm from my GE dishwasher?
In most cases, no tools are required to remove the spray arm; however, if your model has a retaining nut, you may need a suitable tool to loosen it.
Where can I find model-specific instructions for removing the spray arm of my GE dishwasher?
Consult the user manual that came with your GE dishwasher for detailed, model-specific instructions regarding the removal of the spray arm.
Final Thoughts
When removing a GE dishwasher spray arm, it’s crucial to first turn off the appliance and clear it out.
The spray arm typically unscrews counter-clockwise, but some models may require disengaging a nut or button. For accurate guidance tailored to your specific model, always refer to the dishwasher’s manual.