How to Remove Fisher Paykel Dishwasher Drawer: Quick Guide
To remove a Fisher & Paykel dishwasher drawer, open the drawer fully, locate the tubular plastic locking tabs on each side, and press them down while sliding the drawer out. Ensure power is disconnected before starting.
Step-by-Step Guide to Removing Fisher & Paykel Dishwasher Drawer

Ensuring Safety by Turning Off Power and Water Supply
Before attempting to remove the drawer from your Fisher & Paykel dishwasher, safety must be your first priority. Ensure that both the power and the water supply to the dishwasher are turned off.
This can usually be done by switching off the circuit breaker and closing the water valve under the sink or behind the dishwasher. Taking these precautions will prevent any accidental electrical shocks or water leakage during the removal process.
Opening the Dishwasher Drawer and Locating Locking Mechanisms or Tabs
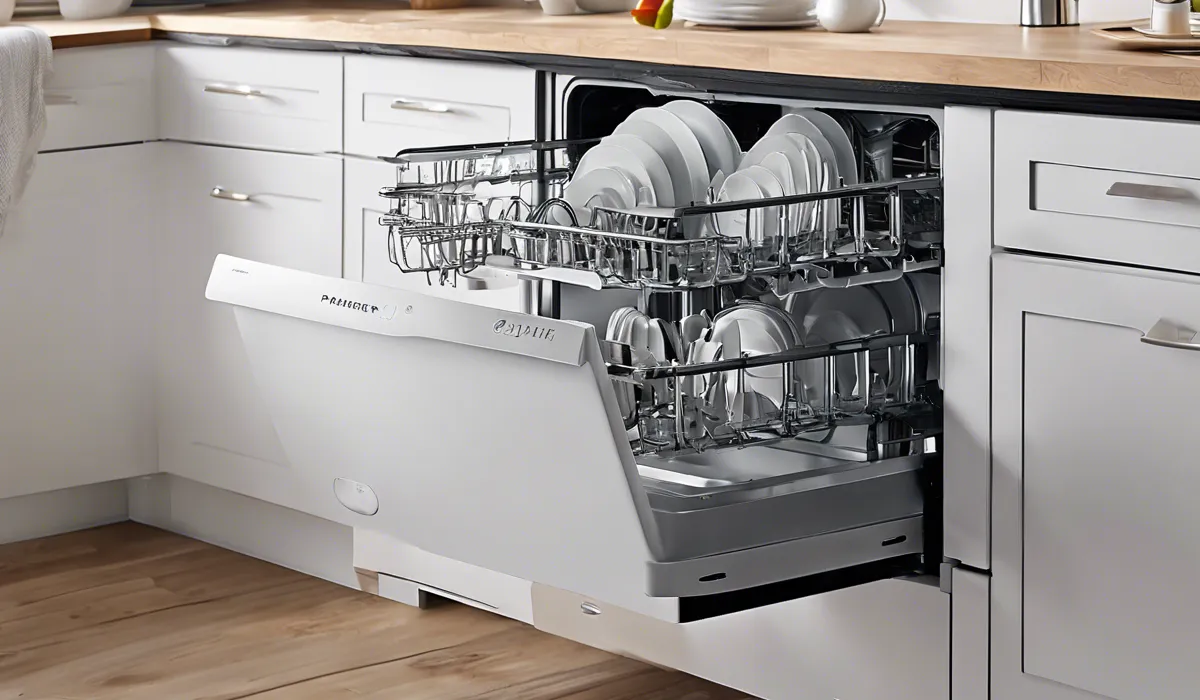
Open the dishwasher drawer fully to access the locking mechanisms. On the sides of the drawer, you will find tubular plastic tabs that serve as locks.
These are usually located near the front of the drawer and can be pressed down or pushed inward, depending on the model of your Fisher & Paykel dishwasher. Identifying these components is essential for a smooth removal.
Releasing the Tabs or Engaging the Release Mechanism
Once you have located the locking tabs, press them down simultaneously or engage the release mechanism.
This action will unlock the drawer from the sliding rails, allowing you to remove it. It’s important to apply even pressure to both sides to prevent any damage to the locking tabs.
Sliding Out the Drawer Carefully While Supporting the Weight
With the locks disengaged, begin to carefully slide the drawer out. It is crucial to support the weight of the drawer as you do so to avoid any sudden drops or tilting, which could damage the drawer or the dishwasher itself. Keep the movement steady and controlled.
Disconnecting Hoses or Wiring Harnesses if Accessible
If your dishwasher drawer has hoses or a wiring harness connected to the back, you will need to disconnect these before completely removing the drawer.
Gently pull the drawer out as far as it will go and reach behind to detach any connections. Be cautious as some hoses may still contain water.
Removing the Drawer Completely and Setting It Aside
Once all connections have been safely disconnected, you can remove the drawer completely.
It is advisable to set the drawer down on a soft surface or towel to prevent scratching or damage. Now that the drawer is out, you can perform any necessary cleaning or maintenance.
Troubleshooting Common Issues During Removal

Dealing with Stuck or Hard-to-Reach Tabs
If you find that the locking tabs on your dishwasher drawer are stuck or difficult to reach, you may need to use a flat-head screwdriver to gently pry them open.
Exercise caution to avoid breaking these components. It’s also helpful to ensure that the drawer is fully extended for better access to the tabs.
Handling Water Remaining in the Hoses or Drawer
Water remaining in the hoses or drawer should be dealt with before removal to prevent spills.
Prepare towels or a shallow pan to catch any excess water when disconnecting hoses. It’s also wise to have a sponge or cloth on hand to dry off any residual water within the drawer itself.
Addressing a Dishwasher Drawer That Won’t Slide Out Smoothly
If the drawer does not slide out smoothly, check for obstructions or debris in the rails or wheels.
Clean these areas thoroughly to remove any hindrances. Additionally, ensure that both the rails and the wheels are in good condition and replace them if necessary for smooth operation.
Tips for Managing the Drawer’s Weight and Avoiding Damage
When removing the dishwasher drawer, it’s important to distribute the weight evenly to avoid straining or bending the drawer.
Use both hands and, if possible, ask for assistance when carrying the drawer, especially if it is particularly heavy or awkward to handle.
Reinstalling or Replacing the Dishwasher Drawer

Preparing the Area and Ensuring Cleanliness for Reinstallation
Before reinstalling the dishwasher drawer, clean the area thoroughly. Remove any debris and wipe down the interior of the dishwasher, as well as the tracks and wheels. This will help ensure that the drawer glides smoothly and maintains proper alignment.
Reconnecting Hoses and Wiring Harnesses Correctly
When reconnecting hoses and wiring harnesses, ensure they are securely attached and that no wires are pinched or hoses kinked. Double-check all connections for leaks by running a short cycle before fully installing the drawer.
Aligning the Drawer on Tracks and Ensuring Smooth Operation
Align the drawer carefully onto the tracks, making sure it is seated correctly. Slide the drawer in and out a few times to check for smooth operation. If it’s not sliding easily, adjust the drawer or tracks until the motion is fluid and unobstructed.
Testing the Drawer Function Before Turning the Power and Water Back On
It’s important to test the drawer function fully before restoring power and water supply. Make sure the drawer opens and closes properly, and ensure that the locking mechanisms engage and release as they should. This step verifies that the drawer is installed correctly and ready for use.
Safety Checks and Final Steps to Complete the Installation Process
After testing the drawer, perform a final safety check. Ensure all tools are removed from the area, and there are no obstructions that could impede the dishwasher’s function.
Once you are confident that everything is in order, turn the power and water supply back on.
Run a full cycle to ensure that the dishwasher operates without any issues. Congratulations, you have successfully removed and reinstalled your Fisher & Paykel dishwasher drawer!
FAQs About Removing Fisher & Paykel Dishwasher Drawer
How do I start the process of removing my Fisher & Paykel dishwasher drawer?
Begin by ensuring the dishwasher is disconnected from the power supply, then fully open the dishwasher drawer you wish to remove.
Where are the locking tabs located on a Fisher & Paykel dishwasher drawer?
The locking tabs are tubular plastic pieces found on each side of the drawer when it is fully opened.
What is the correct way to release the Fisher & Paykel dishwasher drawer from the locking tabs?
Press the tubular plastic locking tabs down simultaneously and then slide the drawer out towards you.
Do I need any tools to remove the Fisher & Paykel dishwasher drawer?
No tools are necessary; you can release the locking tabs by hand.
Is it safe to remove the Fisher & Paykel dishwasher drawer while the power is on?
No, always disconnect the dishwasher from the power supply before attempting to remove the drawer for safety reasons.
Final Thoughts
Removing a Fisher & Paykel dishwasher drawer involves fully extending the drawer, pressing down the tubular plastic tabs on the sides, and sliding the drawer out. It’s crucial to disconnect the power before attempting this to ensure safety during the removal process.


