How to Remove Dishwasher Kick Plate: Easy Step-by-Step Guide
To remove a dishwasher kick plate, first, unscrew any fasteners securing it. Gently pull the plate outwards from the bottom. If stuck, wiggle it to loosen any clips. Reinstallation is the reverse procedure.
Step-by-Step Guide to Removing a Dishwasher Kick Plate

Identify the Type of Kick Plate Attachment
Before beginning the removal process, it is crucial to understand how your dishwasher kick plate is attached.
Some models use screws, while others may have clips or pressure-fit mechanisms. Inspect the kick plate carefully to determine the attachment method, as this will dictate the tools and approach you need to use.
Gather Necessary Tools
To ensure a safe and efficient removal, gather all the necessary tools beforehand. You will likely need a screwdriver to remove screws.
A flashlight can help you see in the dark spaces beneath the appliance, and protective gloves will shield your hands from sharp edges. Having these tools at hand will streamline the process.
Disconnect Power and Prepare the Area
Safety first. Turn off the dishwasher and disconnect it from the power source to prevent any electrical hazards.
Then, empty the dishwasher completely and slide out the lower dish rack to clear the workspace and gain full access to the kick plate area.
Locate and Remove the Kick Plate
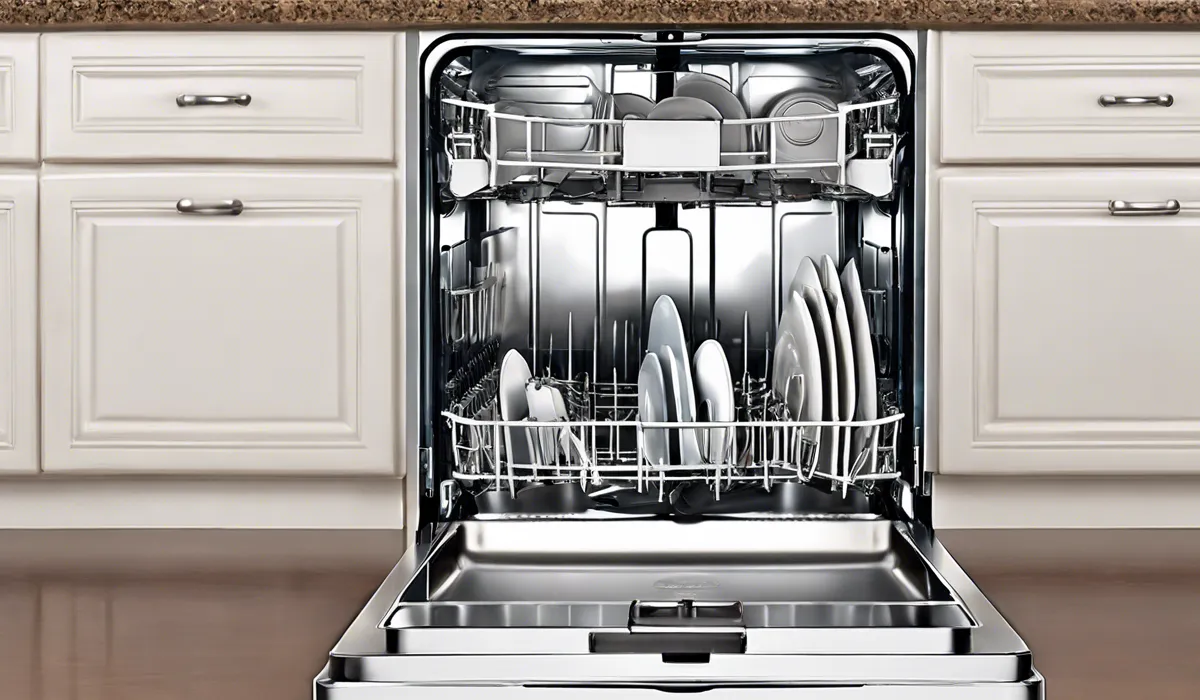
The kick plate is located at the bottom front of the dishwasher. Once you have clear access, look for screws or other fasteners that may be holding it in place. If screws are present, use your screwdriver to remove them carefully.
When handling clips or pressure-fit mechanisms, gently push or pull as appropriate to release the kick plate without causing damage.
Tips on Handling Clips or Pressure-Fit Mechanisms
If your dishwasher uses clips or pressure-fit mechanisms, proceed with caution. These can sometimes be tricky and may require a bit of finesse.
Wiggle the kick plate gently to loosen the clips. If you encounter resistance, avoid using excessive force to prevent breaking the clips.
Troubleshooting Common Issues When Removing a Kick Plate

Dealing with Stripped Screws or Corroded Fasteners
If you encounter stripped screws or corroded fasteners, use a screw extractor or apply a penetrating oil to loosen them.
Give the oil some time to work before attempting to remove the screws again. It is important to be patient and gentle to avoid causing further damage.
What to Do if the Kick Plate Is Stuck
In cases where the kick plate seems stuck, check for any hidden fasteners or clips that you may have missed.
If it’s still stuck, gently tap around the edges with a rubber mallet to loosen it. Make sure to protect the finish of your dishwasher door and the kick plate while tapping.
Avoiding Damage to the Kick Plate or Dishwasher Door
When removing the kick plate, it is essential to avoid bending or scratching it. Use a steady hand and lift the kick plate away from the dishwasher carefully. Also, be mindful of the dishwasher door and handle it gently to prevent any dents or damage.
Solutions for Reattaching the Kick Plate Properly
If you have difficulty reattaching the kick plate, ensure that all clips or fasteners are aligned correctly.
If the plate does not seem to fit, do not force it. Instead, reassess the alignment and try again. It should fit snugly without the need for excessive force.
Maintenance and Replacement of Dishwasher Kick Plates

Cleaning the Kick Plate and the Area Behind It
With the kick plate removed, take the opportunity to clean both the plate and the area behind it.
This is an excellent time to check for any obstructions or buildup that could affect the performance of your dishwasher. A clean kick plate also maintains the aesthetic appeal of your appliance.
Inspecting for Damage and Considering Replacement
Inspect the kick plate for any signs of damage such as cracks, warping, or discoloration.
If any damage is found, consider replacing the kick plate to ensure your dishwasher maintains its performance and appearance. Regular inspection can help catch issues early, preventing more significant problems down the line.
Choosing the Right Replacement Kick Plate
When selecting a new kick plate, it is crucial to choose one that is compatible with your dishwasher model. A correctly sized kick plate will ensure a proper fit and avoid gaps or misalignment.
Installing a New Kick Plate
Installation of a new kick plate generally follows the reverse process of removal. Start by aligning the kick plate with the bottom front of the dishwasher.
Then, secure it in place with screws or snap it into the clips or pressure-fit mechanisms. Make sure it is firmly attached and that there are no loose parts.
Regular Maintenance Tips
To avoid future issues with the kick plate, perform regular maintenance checks. Make sure it is always securely attached and not obstructing any vents or airflow.
Keep it clean and free from debris to maintain proper function. Regular attention will prolong the life of your kick plate and dishwasher.
FAQs About Removing Dishwasher Kick Plates
How do I start removing the kick plate from my dishwasher?
To begin removing the kick plate, locate and unscrew any fasteners that are securing it to the dishwasher.
What should I do if the dishwasher kick plate seems stuck?
If the kick plate is stuck, gently wiggle it to loosen any clips or attachments that may be holding it in place.
How do I remove the kick plate once the fasteners are unscrewed?
After unscrewing the fasteners, gently pull the kick plate outwards from the bottom to remove it.
Are there any tools required to remove the dishwasher kick plate?
Typically, a screwdriver is the only tool required to unscrew the fasteners securing the kick plate.
How do I reinstall the dishwasher kick plate after removal?
To reinstall the kick plate, align it at the bottom of the dishwasher and secure it by screwing in the fasteners. The process is the reverse of removal.
Final Thoughts
Removing a dishwasher kick plate is straightforward: unscrew any fasteners first, then pull the plate from the bottom.
If it doesn’t come free easily, wiggle it to disengage any clips. When putting it back, simply reverse the steps, ensuring the plate is secure and the fasteners are tightened properly.


