How to Make A Dishwasher: DIY Clean Dishes Guide
Building a dishwasher requires electrical and plumbing skills. Design a waterproof cabinet, install a spray arm, heating element, and control panel. Connect to a water supply and drain. Follow safety standards and local codes for DIY appliances.
Understanding Dishwasher Components and Design
Essential Dishwasher Parts Overview
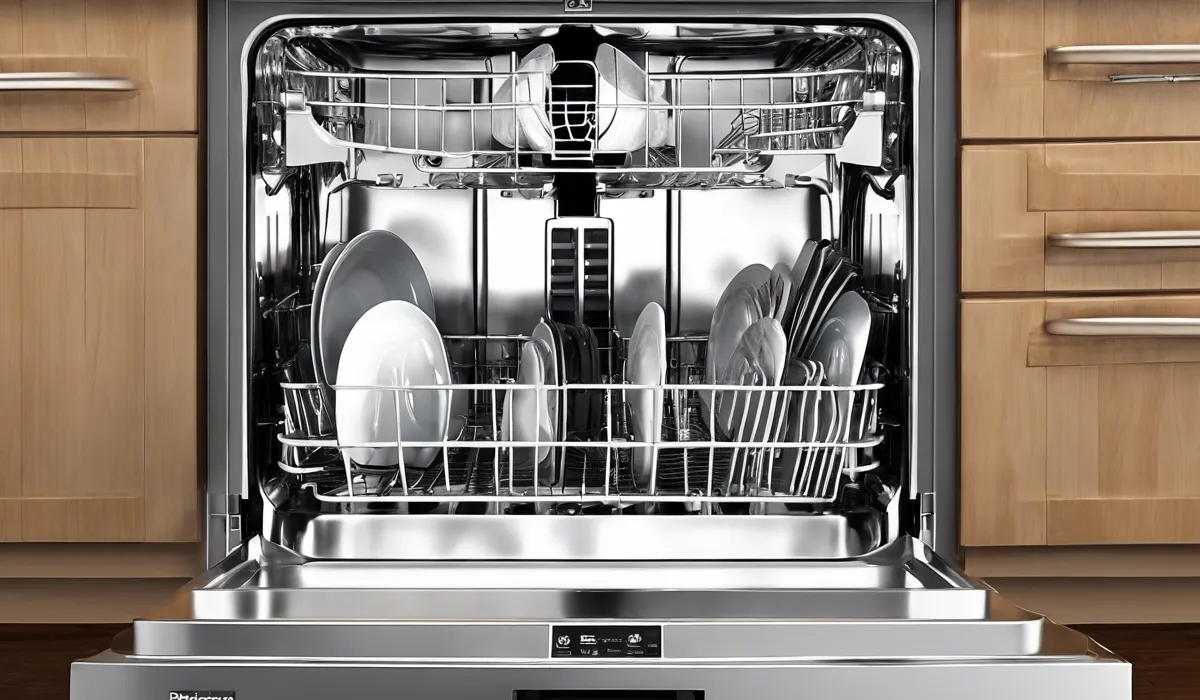
Before embarking on the journey to create a dishwasher, it’s crucial to understand the core components that allow it to function effectively. The control mechanism acts as the brain of the dishwasher, guiding the washing and drying cycles.
The water inlet valve is the gateway for water to enter the machine, while the heating element is responsible for raising the water temperature to levels that can sanitize dishes.
Spray arms ensure the water reaches all items within the dishwasher, and the drain system removes dirty water after each cycle.
Lastly, the detergent and rinse aid dispensers release cleaning agents at appropriate times, and filters capture food particles to prevent clogs.
Design Considerations for a Functional Dishwasher
Designing a dishwasher requires attention to several factors. Space and size constraints will dictate the dishwasher’s dimensions and capacity.
Energy efficiency is important not only for reducing electricity bills but also for minimizing environmental impact. Water usage should be optimized to conserve resources without compromising cleaning power.
Selecting Materials and Tools for Construction
The choice of materials and tools is pivotal in building a robust dishwasher. Stainless steel is a preferred option for its durability and resistance to rust.
Insulation materials are necessary for maintaining heat and reducing noise. Electronic components are essential for the control panel’s operation, and plumbing materials such as pipes and hoses are required to manage water inlet and drainage.
Step-by-Step Guide to Assembling a Dishwasher
Preparing the Workspace and Ensuring Safety
Before starting the assembly process, preparing a clean and organized workspace is crucial. Safety considerations must include wearing protective gear and ensuring all tools are in good working order.
It’s also necessary to familiarize oneself with local safety standards and building codes to ensure compliance.
Installation of Frame and Interior Components
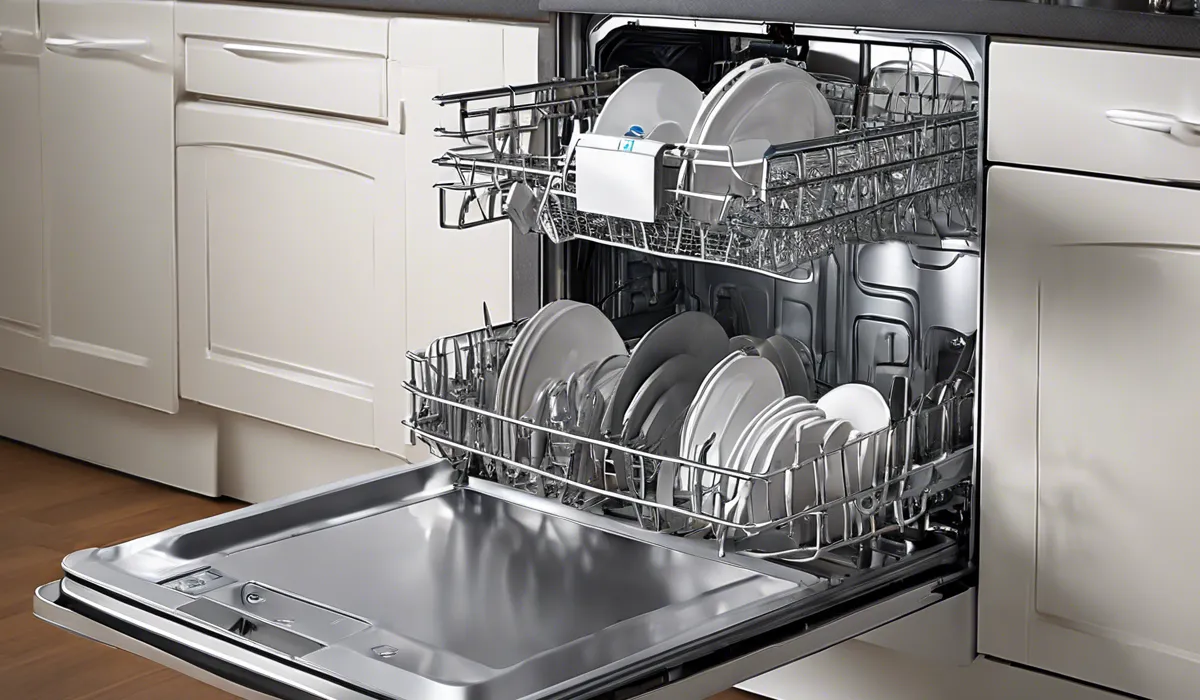
Constructing the dishwasher begins with the assembly of the base and walls to form a stable and waterproof cabinet.
The heating element is then mounted at the bottom, and spray arms are strategically placed to ensure even water distribution during cycles.
Detergent and rinse aid dispensers are fitted into position to allow for the automatic release of cleaning agents.
Electrical and Plumbing Setup
Electrical wiring is carefully connected to the control panel, and the system is linked to a power supply. The water inlet valve must be securely connected to the household water supply.
Proper drainage system installation is critical to prevent water from pooling or leaking out of the dishwasher.
Final Assembly and Sealing of the Dishwasher
After insulating the dishwasher to optimize heat retention and minimize noise, the door and control panel are attached.
A thorough seal test for leaks is conducted to ensure that all connections are watertight and that the dishwasher will operate safely and efficiently.
Testing and Troubleshooting Your Homemade Dishwasher
Initial Test Run Procedures
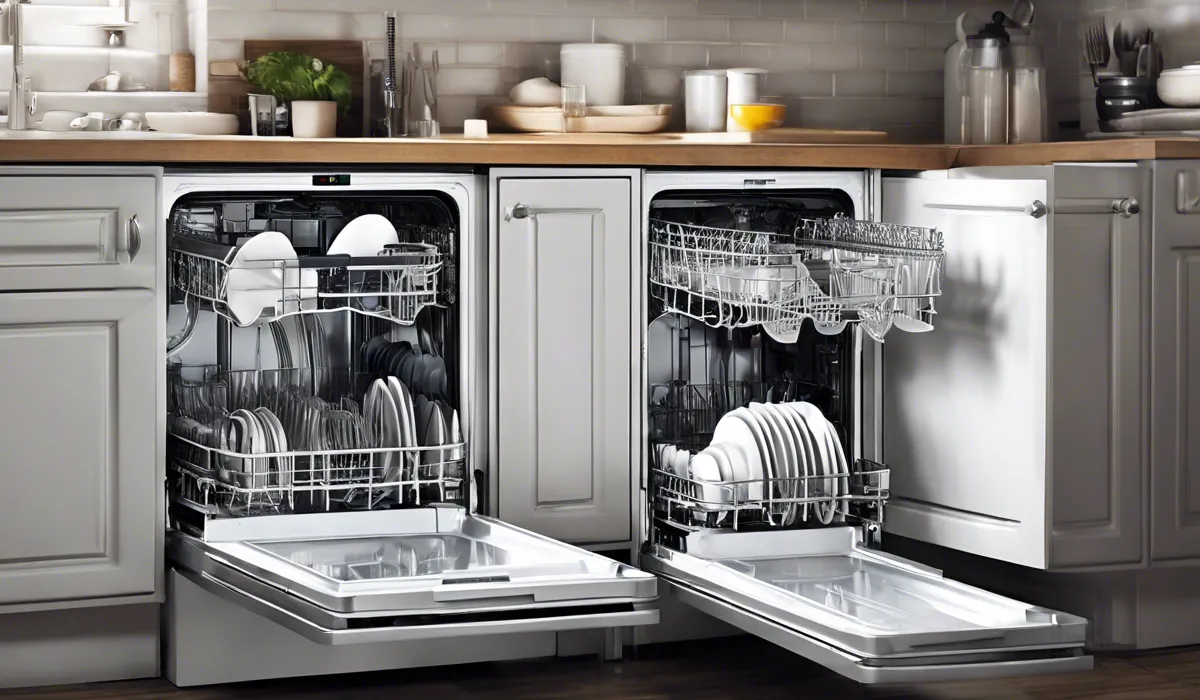
Upon completion of the assembly, the first test run is crucial. The dishwasher is loaded with dishes, the correct amounts of detergent and rinse aid are added, and a standard wash cycle is initiated.
Observing the dishwasher during operation can help identify immediate issues.
Monitoring for Common Issues
Diligent monitoring can detect leaks, inadequate heating, or issues with spray arm movement and water coverage. Ensuring the drainage system functions efficiently is also critical to prevent water from backing up or spilling out.
Adjustments and Fine-Tuning
After the initial testing phase, adjustments may be necessary. Calibrating the control panel and sensors can enhance performance, while additional insulation can further reduce noise. It’s also important to tighten any loose components and verify that all seals are watertight.
Safety Checks and Maintenance Tips
Regular maintenance, including cleaning and filter replacement, will extend the dishwasher’s life and ensure it remains hygienic.
Checking for wear and tear on hoses and seals can prevent future leaks, and adhering to electrical safety standards helps avoid potential hazards.
FAQs About Making a Dishwasher
What skills are required to build a dishwasher?
To build a dishwasher, one needs to have both electrical and plumbing skills to ensure proper installation and safe operation.
What are the essential components needed for a DIY dishwasher?
A DIY dishwasher typically requires a waterproof cabinet, a spray arm, a heating element, and a control panel as essential components.
How do I connect my homemade dishwasher to the water supply?
To connect a homemade dishwasher to the water supply, one must install water inlet and outlet hoses that link the dishwasher to the home’s plumbing system.
What safety standards should be followed when making a dishwasher?
When making a dishwasher, it is crucial to follow electrical safety standards and local building codes that apply to DIY appliances.
Is it necessary to design a waterproof cabinet for a DIY dishwasher?
Yes, designing a waterproof cabinet is necessary to protect the electrical and mechanical components from water damage and to prevent leaks.
Final Thoughts
Building a dishwasher is a complex task requiring electrical and plumbing expertise.
Key steps include designing a waterproof cabinet, installing essential components like a spray arm, heating element, and control panel, and ensuring proper connections to water supply and drainage systems.
Adherence to safety standards and local codes is crucial when creating DIY appliances.