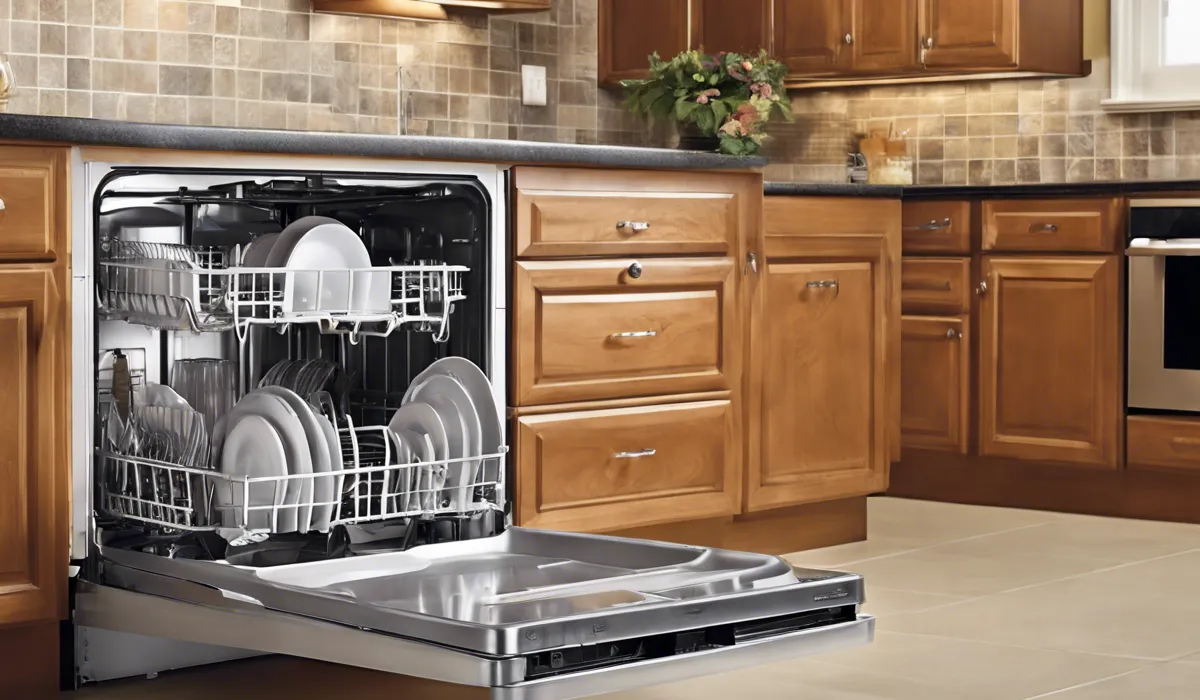
How to Install Dishwasher Kick Plate: Quick & Easy Guide
To install a dishwasher kick plate, align it with the lower front of the dishwasher. Secure it using screws provided, typically at the corners. Ensure it’s flush with cabinetry for a neat appearance. Tighten screws for a snug fit, avoiding overtightening to prevent damage.
Preparation and Safety
Disconnect Power and Water Supply
Before starting any installation work, it is crucial to ensure safety by turning off the power to your dishwasher at the circuit breaker.
Similarly, turn off the water supply to prevent any accidental leaks or water damage. This precautionary step will protect you from electrical shocks and keep the workspace safe.
Gather Your Tools and Materials
Having the right tools at hand is essential for a smooth installation process. You will need a screwdriver for securing the kick plate and a measuring tape to determine the exact size needed.
Additionally, ensure you have the kick plate kit ready, which should include all necessary screws and brackets. Preparing these items beforehand will save time and frustration.
Clear the Installation Area
Create a clear workspace by removing any items or obstacles in front of the dishwasher. This will help you access the dishwasher base with ease and provide enough room for maneuvering tools and parts during the installation process.
Review Manufacturer’s Installation Guide
Each dishwasher model may come with its unique set of instructions for kick plate installation. Take a moment to read through the manufacturer’s guide to familiarize yourself with any specific requirements or steps.
This will help prevent mistakes and ensure you’re following the recommended procedures for your particular dishwasher model.
Installation Process
Measure the Kick Plate Space
Begin by measuring the height and width of the space at the base of the dishwasher where the kick plate will be installed.
This ensures that the kick plate fits perfectly and looks seamless with the cabinetry. Record these measurements carefully to reference when aligning the kick plate.
Align with the Dishwasher’s Lower Panel
With the measurements in hand, align the top edge of the kick plate with the dishwasher’s lower panel. This step is crucial for visual consistency and to ensure that the plate does not obstruct the door or affect the dishwasher’s functionality.
Secure Kick Plate Brackets or Clips
If your kick plate kit comes with brackets or clips, attach these to the dishwasher base first.
These components help to hold the kick plate in place and provide additional support. Make sure they are tightly secured but not over-tightened to avoid damaging the dishwasher’s frame.
Attach the Kick Plate with Screws
Position the kick plate against the brackets or clips and begin to attach it using the screws provided. Start at one corner and work your way around, ensuring that each screw is snug but not over-tightened to avoid stripping the holes or warping the kick plate.
Adjust for Fit and Alignment
After securing the kick plate, check for proper fit and alignment. Make any necessary adjustments to ensure that the plate is flush with the dishwasher and surrounding cabinetry.
Giving it a neat and professional appearance. It should not protrude or have any gaps that might detract from the overall look.
Finishing Touches

Inspect for Stability and Flush Fit
Carefully examine the installed kick plate to ensure it is stable and sits flush against the cabinetry. It should not move or rattle when touched, indicating that it is securely fastened and well-aligned.
Check Door Functionality
Open and close the dishwasher door to verify that there is no interference from the new kick plate.
The door should operate smoothly without any obstruction or friction against the kick plate. If there is interference, slightly adjust the position of the kick plate until the door movement is unimpeded.
Restore Power and Water Supply
Once you are satisfied with the installation, it’s time to turn the power and water supply back on. This is an important step to prepare for testing the dishwasher and ensuring everything is in working order.
Test the Dishwasher
Run the dishwasher through a short cycle to test for any leaks or operational issues.
Pay close attention to the area around the kick plate to ensure there are no water leaks, and listen for any unusual noises that might indicate a problem.
If everything appears to be functioning correctly, you’ve successfully installed your kick plate!
Cleanup and Disposal
With the installation complete, tidy up your workspace. Dispose of any packaging materials or old parts in a responsible manner, recycling where possible.
Wipe down the kick plate and the front of the dishwasher to remove any fingerprints or smudges, leaving your kitchen looking pristine.
FAQs About Installing Dishwasher Kick Plate
How do I align the dishwasher kick plate before installation?
Align the kick plate with the lower front of the dishwasher, making sure the edges are even with the cabinetry for a seamless look.
What type of screws should I use to secure the dishwasher kick plate?
Use the screws provided with the kick plate, which are typically designed to fit at the corners of the plate for secure attachment.
How can I ensure the kick plate is flush with the cabinetry?
Adjust the kick plate until its surface is even with the cabinetry, then tighten the screws to hold it in place without forcing it.
How tight should the screws be when installing the kick plate?
Tighten the screws until the kick plate is snug against the dishwasher, but be careful not to overtighten and cause damage to the plate or the dishwasher.
Is it easy to damage the kick plate when installing it?
If you avoid overtightening the screws and ensure proper alignment, the risk of damaging the kick plate during installation is minimal.
Final Thoughts
When installing a dishwasher kick plate, proper alignment with the dishwasher’s lower front is crucial. Secure the plate with screws at the corners, making sure it sits flush with the surrounding cabinetry for a clean look.
Tighten the screws just enough to ensure the plate is snugly fitted, being careful not to overtighten and cause damage.